Dishwasher Repair Error Codes
This comprehensive guide aims to demystify common error codes, ranging from water supply discrepancies to drainage malfunctions, heating anomalies, and overflow issues. We will explore the underlying causes of these errors, provide targeted troubleshooting techniques, and offer advice on when to seek professional assistance. Equipped with this knowledge, you can tackle Perth Dishwasher repair tasks with assurance, guaranteeing optimal performance and longevity for your appliance.
Dishwasher error codes serve as a critical diagnostic tool, pinpointing specific issues within your appliance to streamline troubleshooting and repairs. By decoding these signals—whether they manifest through digital displays or blinking light patterns—you unlock the first step toward restoring your dishwasher’s functionality.
What are dishwasher repair error codes?
Dishwasher repair error codes are specific signals or messages generated by the dishwasher’s electronic system, designed to indicate particular issues or malfunctions within the appliance. These codes appear as a series of letters, numbers, or a combination of both, displayed on the dishwasher’s digital panel, or through a sequence of blinking or flashing lights. Each code corresponds to a distinct problem, ranging from water supply issues to drainage, heating, and overflow errors.
Understanding these codes is essential for diagnosing the root cause of the dishwasher’s malfunction, facilitating a targeted approach to repairs. This knowledge not only aids in quick fixes but also helps in preventing future occurrences by addressing the underlying issue effectively.
Why are error codes crucial for repairs?
Error codes are indispensable in the realm of dishwasher repairs, acting as a direct line of communication between the appliance and the user or technician. They pinpoint the exact nature of the problem, eliminating guesswork and allowing for precise diagnostics. This specificity is vital for efficient troubleshooting, as it directs attention to the malfunctioning component or system within the dishwasher.
By understanding what each error code signifies, repair efforts can be focused and effective, significantly reducing repair time and potentially lowering costs. Moreover, error codes can highlight issues that, if left unaddressed, could lead to more significant damage or reduce the appliance’s lifespan. In essence, these codes are a key tool in maintaining the optimal performance and longevity of your dishwasher.
Identifying your dishwasher's error code
Identifying the error code on your dishwasher is the foundational step towards a successful repair. This process varies depending on the model, but generally falls into two categories: via the digital display and through blinking light patterns. Modern dishwashers often feature a digital display that directly shows the error code, making identification straightforward.
On the other hand, older or more basic models may use a series of blinking lights to communicate the issue. Interpreting these patterns requires consulting the user manual or a reference guide specific to your dishwasher brand and model. Recognising the correct error code is crucial as it guides the subsequent troubleshooting and repair steps, ensuring you address the right problem.
Via the digital display
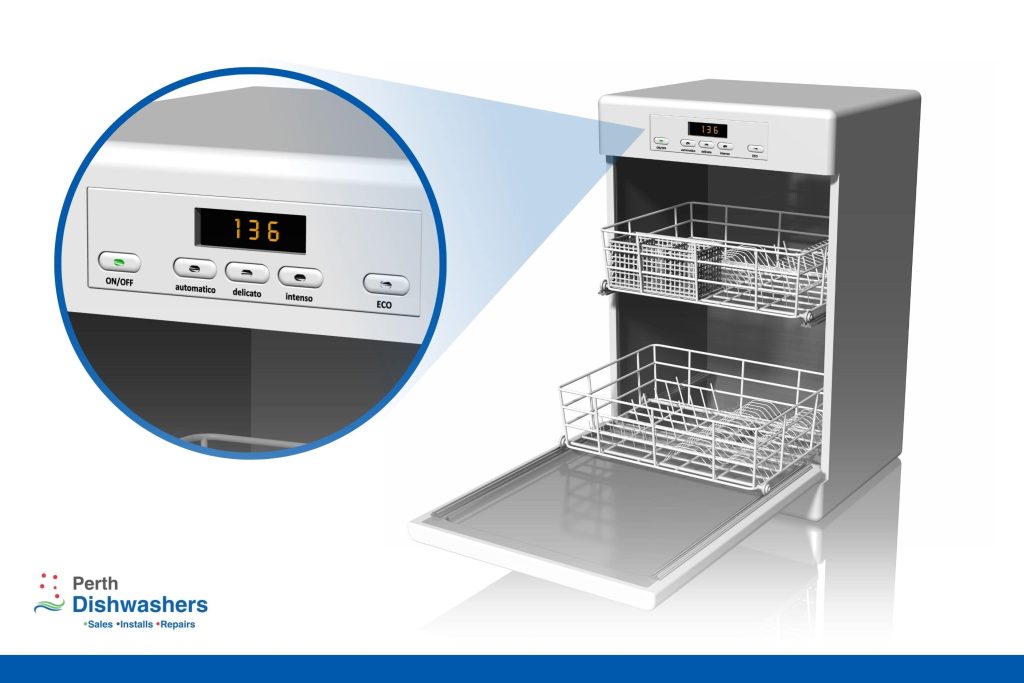
Many contemporary dishwashers are equipped with digital displays that provide immediate access to error codes. When an issue arises, the display will show a specific combination of letters and numbers. This code directly corresponds to a particular problem within the dishwasher, such as water intake issues or drainage problems.
To decipher the meaning of these codes, refer to your dishwasher’s manual or the manufacturer’s website. The clarity and directness of digital displays simplify the identification process, allowing for quicker initiation of the troubleshooting phase.
Through blinking light patterns
Dishwashers without digital displays communicate errors through blinking or flashing light patterns. Each pattern of blinks or flashes represents a different error code, corresponding to various issues the appliance might be experiencing. Decoding these patterns requires a careful observation of the sequence and duration of the blinks.
Consultation of the user manual or an online reference specific to your model will be necessary to translate these light patterns into understandable error codes. Although this method may seem less straightforward than a digital readout, it remains an effective way for many dishwashers to indicate the nature of the malfunction.
Example Error Code Interpretations
To provide a clearer understanding of how to identify dishwasher error codes, the following table offers examples of error codes displayed via digital displays and interpreted through blinking light patterns:
| Display Type | Error Code | Interpretation | Possible Issue |
|---|---|---|---|
| Digital Display | E1 | Water Supply Error | Insufficient water intake |
| Digital Display | E2 | Drainage Error | Clogged filter or blocked drain hose |
| Blinking Light Patterns | 5 Blinks | Drainage Error (Refer to model-specific guide) | Blocked drain hose |
| Blinking Light Patterns | 3 Blinks | Heating Error (Refer to model-specific guide) | Faulty heating element |
Common dishwasher error codes explained
Navigating the realm of dishwasher error codes can be daunting, yet understanding these codes is essential for effective troubleshooting and repair. Common issues include E1, indicating a water supply error such as insufficient intake or a blockage in the hose; E2, pointing to a drainage error like a clogged filter or a blocked drain hose; E3, signalling a heating error due to a faulty heating element or a malfunctioning thermostat; and E4, denoting an overflow error, often caused by leaky seals or a faulty float switch.
Each code not only identifies the problem area but also guides the repair process, highlighting the importance of accurate diagnosis. By familiarising yourself with these common error codes, you can swiftly pinpoint and address the issues, ensuring the smooth operation of your dishwasher.
Detailed Explanation of Common Error Codes
The following table provides a detailed explanation of common dishwasher error codes, including specific causes and potential consequences if these errors are not addressed:
| Error Code | Description | Specific Causes | Potential Consequences if Ignored |
|---|---|---|---|
| E1 | Water Supply Error | – Water inlet valve failure | Dishwasher unable to fill, leading to dry runs damaging the appliance |
| – Low water pressure | |||
| E2 | Drainage Error | – Clogged filter | Water backing up, potential leaks and water damage |
| – Blocked drain hose | |||
| E3 | Heating Error | – Faulty heating element | Ineffective cleaning due to cold water, increased bacteria growth |
| – Malfunctioning thermostat | |||
| E4 | Overflow Error | – Leaky seals or gaskets | Water damage to kitchen floors and cabinets |
| – Faulty float switch | Risk of electrical components short-circuiting |
E1 - Water supply error
E1 signifies a problem with the dishwasher’s water supply, which could stem from insufficient water intake. This issue often arises due to a partially closed valve or low water pressure, hindering the machine’s ability to draw enough water. Additionally, a hose kink or blockage can restrict water flow into the dishwasher, necessitating a check for any physical obstructions or bends in the hose.
E2 - Drainage error
The E2 code is indicative of challenges related to draining water out of the dishwasher. A clogged filter is a common culprit, preventing water from flowing through as intended. Similarly, a blocked drain hose can impede water drainage, emphasising the importance of regular checks and maintenance to keep these pathways clear.
E3 - Heating error
An E3 error points to the dishwasher’s inability to heat water to the required temperatures, usually due to a faulty heating element or a malfunctioning thermostat. Both components play a critical role in heating water efficiently, which is essential for dissolving detergent and ensuring a thorough clean.
E4 - Overflow error
E4 alerts to an overflow situation within the dishwasher, potentially caused by leaky seals or gaskets. These leaks can allow water to escape, leading to puddles and water damage. Another potential cause is a faulty float switch, which, if malfunctioning, fails to signal the dishwasher to cease filling with water, thus precipitating an overflow scenario.
Troubleshooting common error codes
Troubleshooting common dishwasher error codes effectively requires a systematic approach to identify and resolve the underlying issues. By following these targeted troubleshooting strategies, most common errors can be resolved, restoring the dishwasher to optimal functionality.
Detailed Troubleshooting Steps for Common Error Codes
The table below provides detailed troubleshooting steps for each common error code, including specific actions and additional tips to ensure effective resolution:
| Error Code | Troubleshooting Steps | Additional Tips |
|---|---|---|
| E1 | 1. Ensure the water valve is fully open. | After opening the valve, run a water pressure test to ensure adequate flow. |
| 2. Inspect the hose for any kinks or blockages and rectify any issues discovered. | Consider replacing the hose if damage or severe blockage is found. | |
| E2 | 1. Clean the filter and sump to eliminate any debris obstructing water drainage. | Regular cleaning of the filter can prevent future E2 errors. |
| 2. Check the drain hose for obstructions and clear any blockages found. | Ensure the hose is properly positioned to facilitate drainage. | |
| E3 | 1. Test the heating element with a multimeter to verify its operational integrity. | Replace the heating element if resistance readings are outside manufacturer specs. |
| 2. If the heating element is functional, replace the thermostat if determined faulty. | A faulty thermostat often fails to regulate temperature correctly. | |
| E4 | 1. Inspect and replace any leaky seals or gaskets that may be causing water to escape. | Regular inspection of seals can prevent leaks and subsequent E4 errors. |
| 2. Test and replace a faulty float switch if necessary. | A malfunctioning float switch can cause the dishwasher to overfill. |
E1 - Check water supply
To address an E1 error, start by ensuring the valve is fully open, allowing maximum water supply. Next, inspect the hose for any kinks or blockages that could impede water flow into the dishwasher, and rectify any issues discovered.
E2 - Fix drainage issues
For an E2 error, the initial step involves cleaning the filter and sump to eliminate any debris obstructing water drainage. Also, check the drain hose for obstructions, ensuring water can exit the dishwasher freely, and clear any blockages found.
E3 - Resolve heating problems
To combat an E3 error, test the heating element with a multimeter to verify its operational integrity. If the heating element passes inspection, replace the thermostat if it’s determined to be faulty, as it plays a crucial role in temperature regulation within the dishwasher.
E4 - Address overflow issues
In dealing with an E4 error, inspect and replace any leaky seals or gaskets that may be causing water to escape. Additionally, test and replace a faulty float switch if necessary, to prevent the dishwasher from overfilling and ensure proper water level management.
Consulting a professional
While DIY troubleshooting can resolve many common dishwasher error codes, certain situations necessitate consulting a professional. Persistent errors after initial troubleshooting, complex electrical or mechanical faults, and the risk of electrical shock are scenarios where professional expertise is invaluable.
Professionals bring specialised knowledge and tools to diagnose and repair issues efficiently, reducing the risk of further damage to the appliance. Additionally, if error codes reappear quickly after a DIY fix, it may indicate a deeper, underlying problem that requires expert intervention. Consulting a professional ensures not only the safety of the repair process but also the longevity and optimal performance of your dishwasher.
Criteria for Selecting a Qualified Technician
When the need arises to consult a professional, selecting the right technician is crucial. Here are key criteria to consider:
- Certification and Experience: Look for certified professionals with experience in your dishwasher’s brand. Many manufacturers offer certification programs for technicians, ensuring they have the knowledge and skills to handle specific models.
- Reputation and Reviews: Check online reviews and ask for recommendations from friends or family. A reputable technician should have positive feedback and a track record of successful repairs.
- Warranty and Guarantees: Prefer technicians who offer a warranty on their work. This provides assurance that if the problem persists, they will address it without additional charges.
What to Expect from a Professional Service Call
Understanding what to expect during a professional service call can prepare you for the process:
- Diagnostic Tests: A professional might run diagnostic tests not available to consumers to pinpoint the issue. These specialised tools can quickly identify the root cause of the error code.
- Detailed Explanation: Expect a thorough explanation of the problem and the proposed solution. A good technician will ensure you understand the repair process and any parts that need replacement.
- Cost Estimate: Before proceeding with the repair, the technician should provide a detailed cost estimate. This includes the price of any replacement parts and labour.
- Timeline: The technician should give you a clear timeline for the repair, including when they expect to complete the work.
Persistent errors after troubleshooting
When error codes persist even after thorough DIY troubleshooting, it’s a clear indication that the issue may be more complex than initially thought. This stubbornness suggests the need for professional intervention to accurately diagnose and resolve the problem.
When DIY solutions fail
There are instances where DIY solutions might not yield the desired results, either due to the complexity of the repair or a misdiagnosis of the problem. In such cases, seeking professional help becomes essential to prevent further damage and ensure the dishwasher operates correctly.
If error codes reappear quickly
If error codes reappear shortly after implementing a DIY fix, this indicates a potentially deeper underlying issue that requires expert attention. Professionals can identify and rectify the root cause, preventing recurring problems.
Complex electrical or mechanical faults
Dishwashers are intricate appliances with complex electrical and mechanical systems. Faults within these systems often require specialised knowledge and tools for safe and effective repairs, making professional services indispensable.
Risk of electrical shock
Attempting to fix electrical issues without the proper expertise and precautions can lead to a risk of electrical shock. For safety reasons, it’s advisable to consult a professional when electrical faults are suspected.
Potential for further damage
DIY repairs carry the risk of inadvertently causing further damage to the dishwasher. Professionals have the training to handle repairs without compromising the appliance’s integrity, ensuring that the dishwasher remains in good working order.
Preventing future error codes
Preventing future error codes in your dishwasher involves regular maintenance and mindful usage practices.
Regular maintenance tips
To ensure your dishwasher continues to operate efficiently and remains error-free, adhere to a regimen of regular maintenance. This includes cleaning filters monthly to prevent clogs that can lead to drainage issues. Additionally, inspect and clean spray arms quarterly to maintain optimal water flow and spray patterns, which are crucial for effective cleaning.
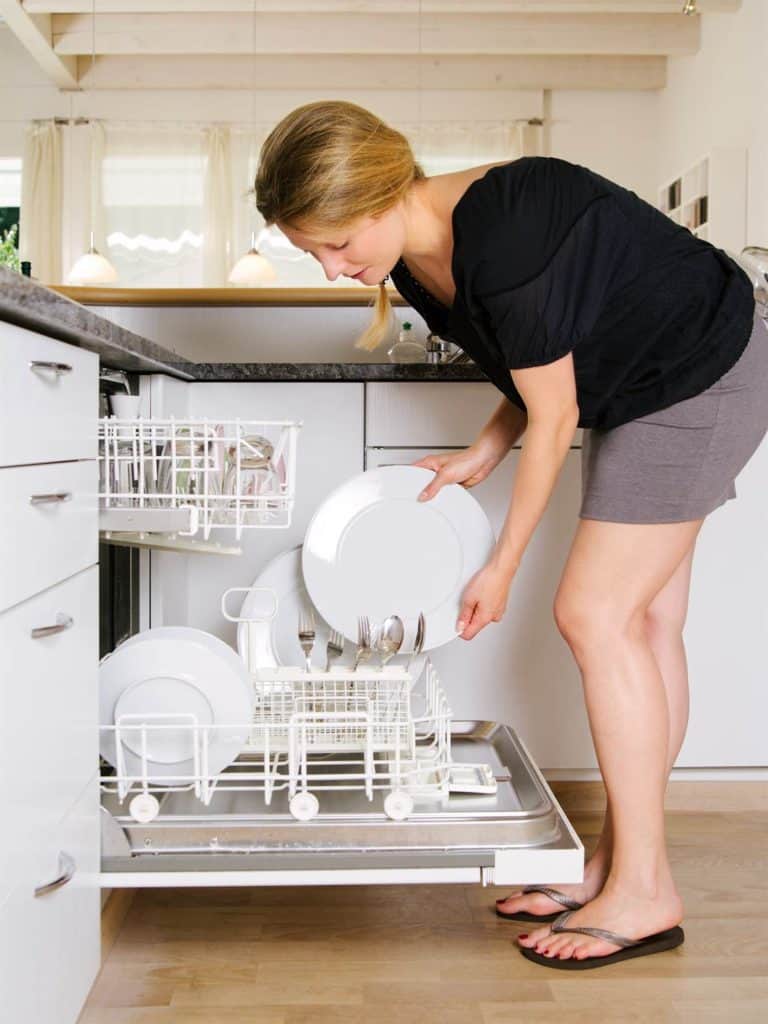
Proper dishwasher use
Proper usage is key to preventing unnecessary strain on your dishwasher. Avoid overloading the appliance, as this can impede water circulation and detergent distribution, leading to poorly cleaned dishes and potential errors. Also, scrape dishes before loading to minimise the risk of food particles clogging the system.
Periodic inspections
Conduct periodic inspections to catch and address wear and tear before it leads to more significant issues. Check for hose wear and leaks annually to prevent water damage and maintain water flow integrity. Furthermore, inspect and clean seals and gaskets bi-annually to ensure they are providing a proper seal, preventing leaks and overflows that could trigger error codes.
Reviews
Cheryl Wee
Excellent and efficient service from booking the appointment to the repair. Jason was immediately able to identify and fix the issues within a half an hour time frame. Truly impressive service. I strongly recommend their services. Thank you to the team.
Tim Kelleher
What a great company. After sales service and back up is incredible. There are so few companies that have this attention to a quality experience and support and do not over charge. AMAZING!!!
EChris Bedding
Today was my fourth instance of excellent service by Perth Dishwashers. It turned out there was a blockage in the drainage. I put in an online enquiry on Sunday afternoon. At 8:30 am Monday, I had a return phone call and by 9:20 am Michael had visited and fixed the problem. He was easy-going and good-natured, and we had a good old chat while he sorted things out. Plus, Barry the neurotic chihuahua like him. I strongly recommend this business!
Nick Lomas
Very happy with the service that was provided, fast diagnosis and quick repair. Cleaned up after himself. Would use again in the future and recommend.
Jo Lindo
3 times I have used PDW now and each time I have had excellent 'old fashioned service' attentive, efficient, personal and helpful - right across the board to the installers. Thanks to all